下载app免费领取会员


"BIM5D: A Step-by-Step Guide to Exporting Videos"
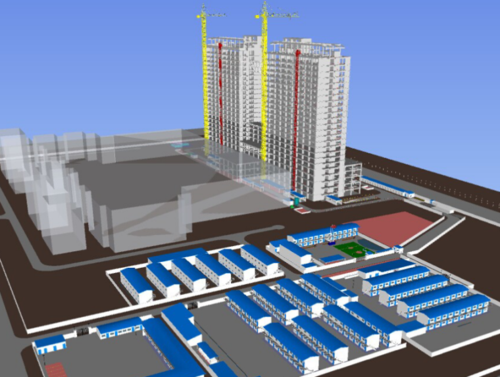
In today's rapidly evolving technological landscape, Building Information Modeling (BIM) has emerged as a powerful tool for the architecture, engineering, and construction industries. BIM offers multidimensional capabilities that foster collaboration, efficiency, and visualization. One key aspect of BIM is the ability to export videos, allowing stakeholders to better understand and communicate project details. In this step-by-step guide, we will explore the process of exporting videos using BIM5D.
Step 1: Prepare Your BIM Model
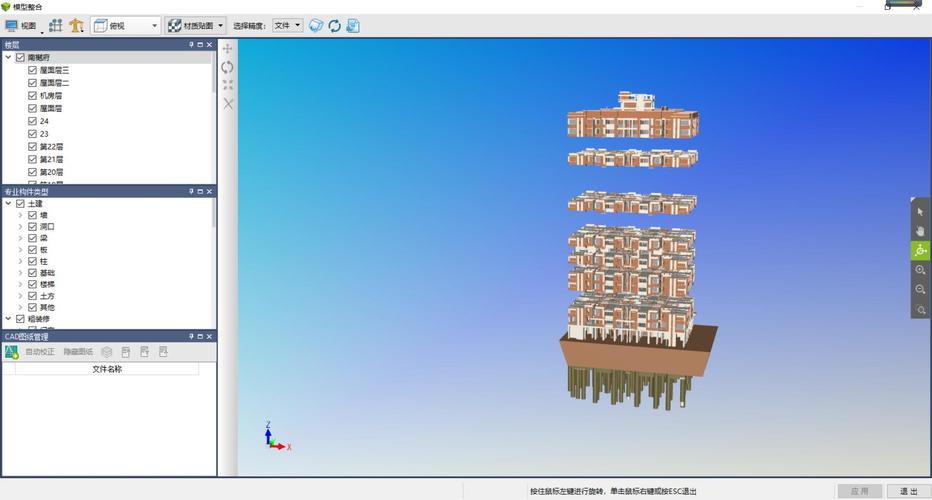
The first step in exporting videos using BIM5D is to ensure that your BIM model is complete and accurate. This means that all relevant information, such as design elements, materials, and schedules, should be included in your BIM model. Take the time to verify and validate the data before proceeding to the next step.
Step 2: Define Camera Views
Once your BIM model is ready, it's time to define camera views for your video. Camera views allow you to showcase different perspectives and angles of your project. You can choose to focus on specific areas or highlight the overall project. Consider the purpose of your video and select camera views accordingly.
Step 3: Set Up Animation and Visualization
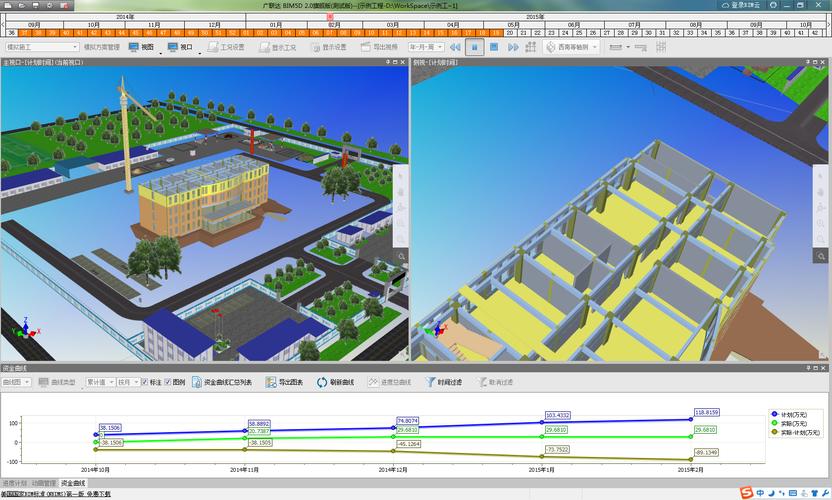
To create an engaging video, you need to set up animation and visualization effects. BIM5D offers a range of tools and features to enhance your video presentation. These may include animated walkthroughs, dynamic lighting effects, and object movements. Experiment with different effects to find the most suitable ones for your video.
Step 4: Customize Video Settings
Before exporting your video, take some time to customize the video settings. BIM5D allows you to adjust the video resolution, frame rate, and output format. Consider the platform or device on which the video will be viewed, as well as the file size constraints. Optimize the video settings to strike a balance between quality and compatibility.
Step 5: Export the Video
Once you are satisfied with your camera views, animation, and video settings, it's time to export the video. BIM5D provides a straightforward export process that guides you through the necessary steps. Click on the export button or menu option, choose the desired file location, and wait for the export process to complete.
Step 6: Review and Share
After exporting the video, take the time to review it for any potential issues or improvements. Watch the video from start to finish, ensuring that all aspects of your project are adequately showcased. Once you are satisfied, share the video with stakeholders, clients, or other relevant parties. You can upload the video to a sharing platform, embed it on a website, or send it via email.
In conclusion, exporting videos using BIM5D is a valuable skill for the BIM professional. It allows for effective communication, better understanding, and enhanced visualization of projects. By following this step-by-step guide, you can create impressive videos that showcase the true potential of your BIM model.
.jpg)
本文版权归腿腿教学网及原创作者所有,未经授权,谢绝转载。

上一篇:BIM5D教程 | BIM 5D在Revit中的导入
推荐专题


