下载app免费领取会员


Lumion 10, a popular 3D rendering software, offers a range of features to help users create stunning visualizations. One of the standout features is the ability to easily replace models within a scene. Whether you need to swap out furniture, vegetation, or even entire buildings, Lumion 10 makes it a breeze.
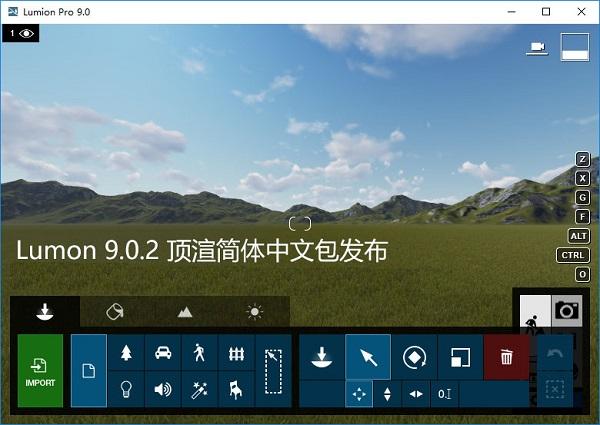
Replacing models in Lumion 10 is a straightforward process. Here's a step-by-step guide on how to do it:
1. Open your Lumion 10 project and navigate to the scene where you want to replace a model.
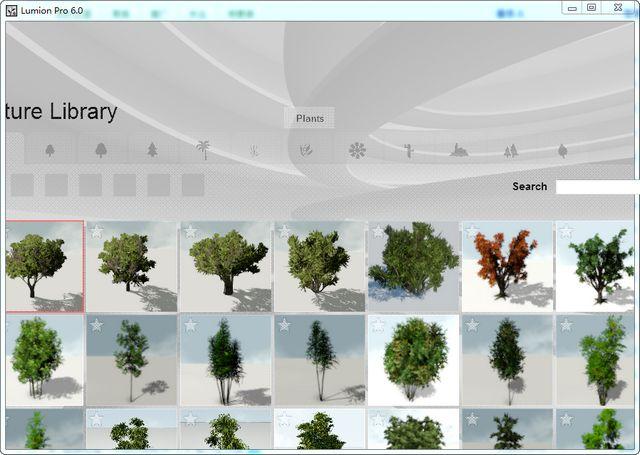
2. In the Object Library, which can be accessed by clicking on the "Show" button on the left-hand side of the screen, browse through the available models until you find the one you want to replace.
3. Click and drag the new model from the Object Library onto the existing model in the scene. This will replace the old model with the new one.
4. Once the new model is in place, you can use the various tools in Lumion 10 to adjust its position, rotation, and scale to fit your scene perfectly.
5. If desired, you can further enhance the appearance of the new model by applying materials, textures, and effects available in Lumion 10.
6. Finally, make any additional adjustments to the scene as needed, such as lighting, camera angles, or adding other elements.
By following these simple steps, you can easily replace models in Lumion 10 and give your scenes a fresh and updated look. Whether you're working on architectural visualizations, interior design projects, or even virtual reality experiences, Lumion 10 is a powerful tool that allows you to bring your designs to life.
With its intuitive interface and extensive library of high-quality models, Lumion 10 makes it easy for both professionals and beginners to create stunning visualizations. So why wait? Start exploring Lumion 10's model replacement feature today and take your designs to new heights.
.jpg)
本文版权归腿腿教学网及原创作者所有,未经授权,谢绝转载。

上一篇:Lumion教程 | 如何在Lumion 9.0中进行模型替换
下一篇:Lumion教程 | 如何制作出令人惊叹的lumion鸟瞰效果图
推荐专题
- Lumion教程 | 如何在Lumion中制作垂直方向的图像
- Lumion教程 | lumion中的su模型导入遇到问题
- Lumion教程 | 连接失败:lumion6.0无法连接
- Lumion教程 | 如何解决Lumion导入模型时出现的错误问题
- Lumion教程 | 如何在Lumion中移动和复制多个对象
- Lumion教程 | lumion软件打开后模型不可见
- Lumion教程 | 无法查看lumion模型的巨大尺寸问题
- Lumion教程 | Lumion中如何导入地形图?
- Lumion教程 | Lumion 8中导入SU模型时遇到错误
- Lumion教程 | 如何在Lumion中替换导入的模型


